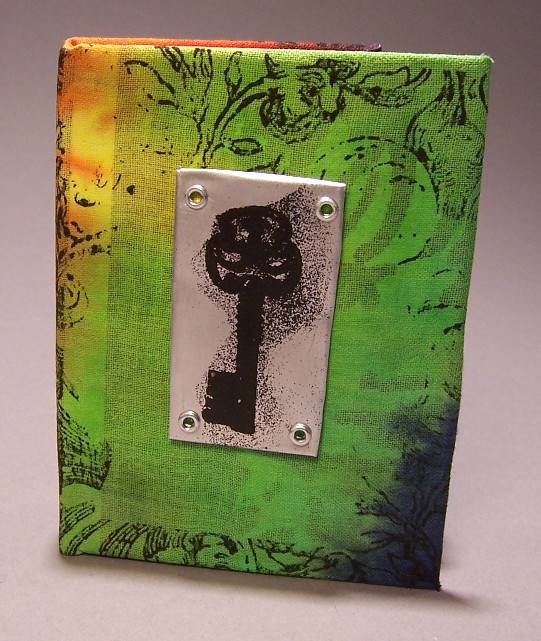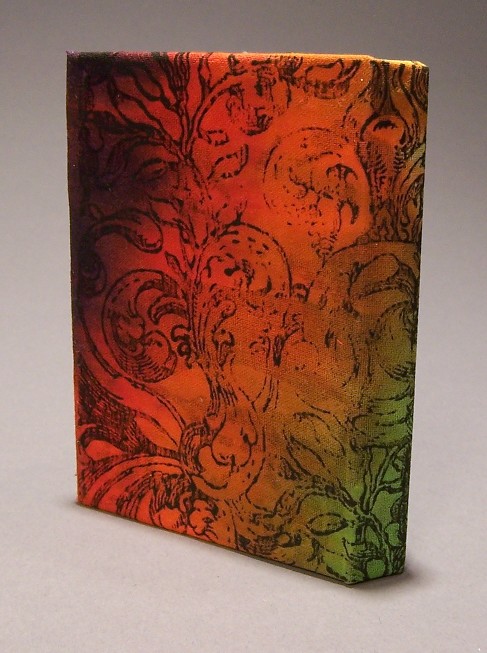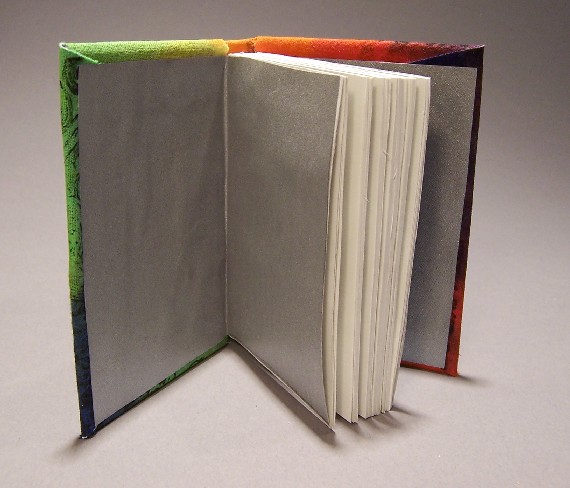


This is the first of a series of four books I made all using the same base material. The base material was a piece of thin tie-dyed cotton that had been part of my daughter’s skirt before it got too ripped to repair. This cover worked really well because thin cotton adhered to 20lb paper so closely resembles bookbinder’s buckram that it’s a dream to work with. You can see the faint outline of what looks like an eye underneath. This was a printout of some doctored photos of my nieces that I converted into linoblocks.
The pattern on the surface of the cloth is from a purchased rubber stamp. I use acrylic paint mixed with gel retarder. I’ve read that you can just use straight acrylic paint, but that advice was meant for people who live in areas with higher ambient humidity.Â
The smoke-key embellishment is a result of some experimenting I did with etching metal. I got some ferric chloride solution and was going to try with different metals. I tried aluminum, brass, and copper, but I’d cut out more metal pieces than I had room for in the acid bath. I had used pigment based stamp pads to put the designs on the metal. I am coming to be of the opinion that pigment based stamp pads are good for embossing and nothing else. The ink never seems to dry. Never ever ever. It drives me crazy. However, if you put embossing powder on the design and shake off the excess (or most of the excess, in the case of this design) you can melt it on and then it doesn’t matter if the ink is dry or not.
After I had the key design on the metal, I folded over the edges to make them less sharp. Then I drilled holes in the corners and inserted aluminum eyelets. I don’t have an eyeletter, so I used a phillips head screwdriver bit to flange the eyelets out on the back side, then hammered them with the flat side of a nail to get them to flatten.
