 Â
Â
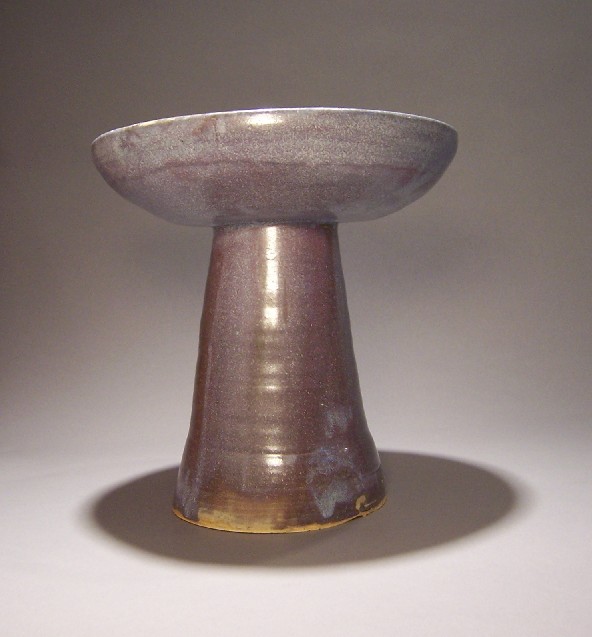
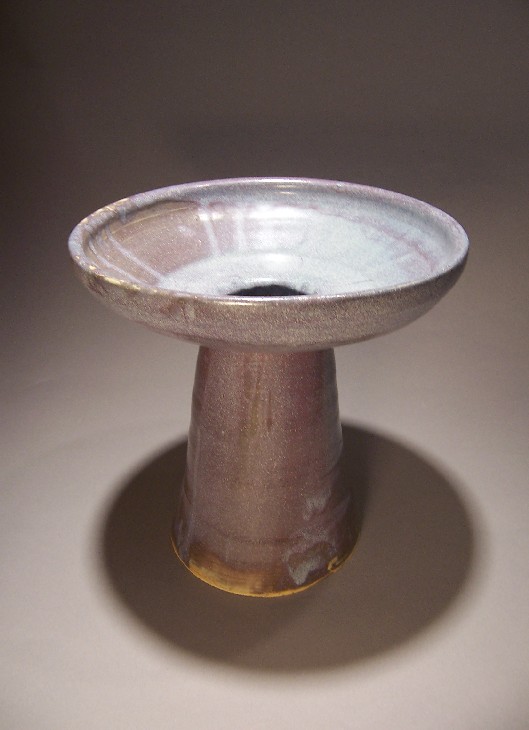
Jeremy had asked me to try to make a drum for him, and I said I’d give it a shot. It’s not an easy project. Open bodied clays are easier for large projects, but they have a hollow sound rather than a ringing sound, which isn’t what he wanted. If I coil-built it, I could make it huge, but if I coil built it it wouldn’t have as consistent a density, and again, that might comprimise the sound.
I started by centering about 10-12 lbs of B-mix. Even though I did it in two sections, this still wasn’t easy. Then I threw the bottom part, narrowing it until it was basically just a cylinder with the thinnest base I could manage. Throwing the bottom wasn’t too difficult, though if I had the foresight to brink a sketch of a drum in to begin with, I wouldn’t have made the neck so narrow.
He asked that the head be at least 10 inches in diameter. Since it shrinks during drying, and again during firing, that meant I had to throw quite a large vessel for the top. Since I was limited by the amount of clay I can center without it becoming waterlogged, the top had to be much more shallow than ideal.
I went in the next day to trim, and I had accidentally left one set of top and bottom unwrapped, which was serendiptious as the second drum (later post) was too wet. This was even a little too wet, so I used a heat gun on it. This made hairline cracks! I stopped with the heat immediately.
The wide vessel was lip down on a board, and I used the neck of the bottom to gauge the size of the hole. I planned to invert the other section on top of it, but Bridget warned that it would collapse, so I ended up shoving wads of newspaper in through the hole until it looked like it would hold. Then I scored and slipped the neck to the base of the wide vessel, wrapped it tight, and put it on the shelf for a month.
The procedures for this and the second drum are essentially the same, so I’ll continue discussing the process in the next post.
